TP-Link TL-WR2543ND
The TP-Link TL-WR2543ND is a selectable dual-band triple-stream (3×3) 450Mbps wireless router. With 3 detacheable antennae it's one of the few that is capable of 3×3 in either the 2.4GHz or 5GHz band, though not both at the same time.
IPv6 works on this model! Simply follow ipv6 essentials to enable the modules.
Each of the 3 antennas are fed by a separate SiGe SE2595L Dual-Band WiFi front end module, comprising transmit and receive amplifiers, tx/rx switch, etc.
The device has three external RP-SMA connectors for the antennae. Internally, the wiring for these are soldered directly onto the PCB, making it harder to replace them, though there are in-line testing connectors similar to the WNDR3700.
The device accepts a maximum transmit power setting of 24dBm on 2.4 GHz and 21dBm on 5 GHz. On 2.4GHz, increased RxLev can be seen all the way up to 24dBm so it appears that it does actually have 24dBm transmit power, though partly calibrated measurements indicate closer to 22 dBm. On 5 GHz, I cannot see any measurable difference above 20dBm but actual measured output is very poor - less than 13dBm.
Supported Versions
Hardware Highlights
Installation
→ Install OpenWrt (generic explanation)
You can install OpenWrt from within the standard software by installing a “firmware upgrade” using the factory image (either the jffs2 one linked above, or a squashfs one, depending on taste). It takes about two minutes, and when the “Rebooting” stage is complete you will need to point your browser at the default OpenWrt IP address of http://192.168.1.1/, which differs from the default IP address for the original software (which was 192.168.0.1).
I installed mine from factory as follows:
- Unpack, plug in, turn on.
- Peel off the silly sticker covering the LAN ports.
- Connect ethernet from laptop to one of the LAN ports.
- Browse to
http://192.168.0.1/and log in as 'admin' password 'admin' - Go to “System” choose “Firmware Upgrade”
- Upgrade using the OpenWrt 'factory' image.
- Wait.... (a couple of minutes)
- Check that you have a new DHCP lease such as 192.168.1.157
- Browse to
http://192.168.1.1/ - Enjoy! Though, before get going, you may like to boot to failsafe first, this means you can recover the original OpenWrt in case you configure badly.
- Failsafe is easy on this device. The lock icon light is the SYS key mentioned here, and the hardware button is the WPS button. On switch-on, the lock icon light always blink slowly for a good 30 secs and in that time you can give the WPS a simple press and the lock icon will start to blink rapidly, which represents failsafe mode. Now you can telnet in on 192.168.1.1 and follow the generic failsafe webpage. Which means you can return from any configuration mess you might make!
Other installation methods will also work, such as via tftp. See generic.flashing for more ideas.
Hardware
Info
| Architecture: | MIPS |
| Vendor: | Qualcomm Atheros |
| bootloader: | U-Boot |
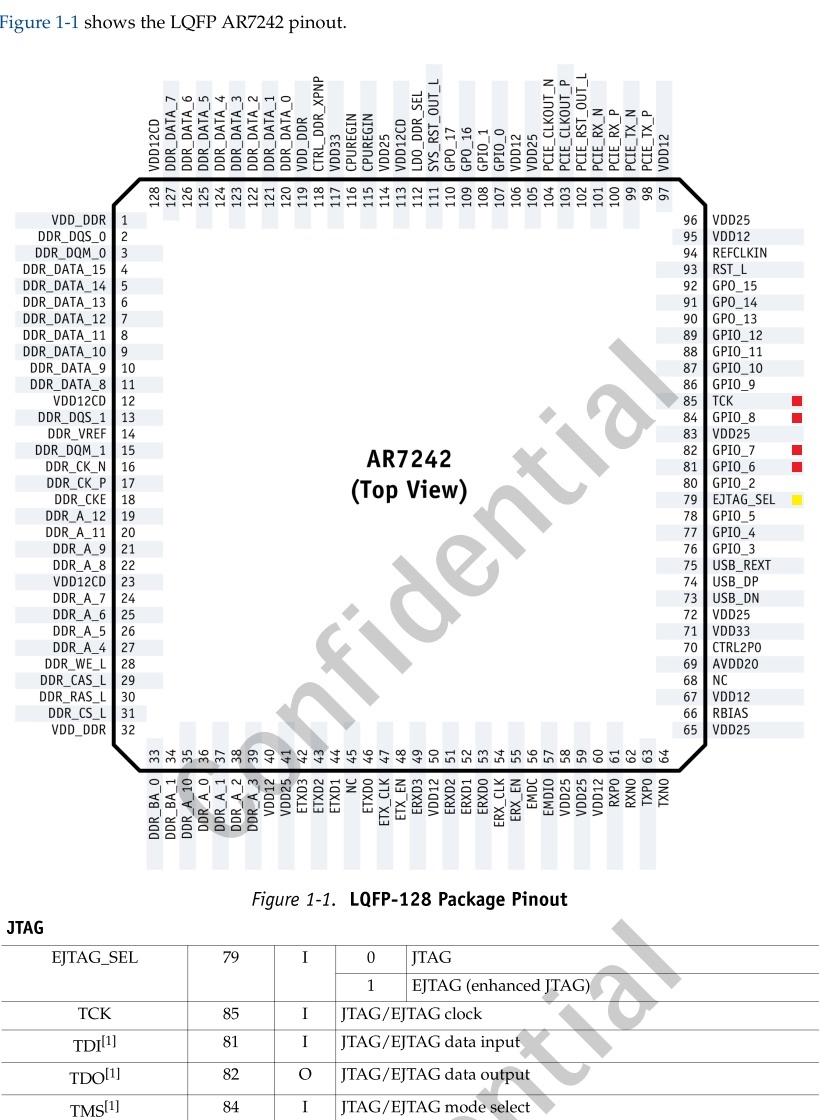
| System-On-Chip: | AR7242 |
| CPU/Speed | 400 Mhz |
| Flash-Chip: | Spansion FL064PIF |
| Flash size: | 8192 KiB |
| RAM: | Zentel A4S12D40FTP-G5 64 MiB |
| Wireless: | Atheros AR9380 Dual-Band 450Mbps 3×3 ABGN |
| Ethernet: | RTL8367R |
| Internet: | n/a |
| USB: | Yes 1 x 2.0 |
| Serial: | Yes |
| JTAG: | ??? |
Performance
With Openwrt, this device can handle just over 300Mbps sustained UDP throughput at maximum link rate (450Mbps) and about 190Mbps sustained TCP throughput wirelessly with encryption off. With encryption on, maximum UDP throughput drops to about 270Mbps. WAN to LAN throughput with the same Openwrt build tops out at about 235Mbps. WAN to LAN with the stock firmware is dire, topping out at about 80-100Mbps, so Openwrt gives over double the routing speed.
Photos
v1.2
Note: Despite having the space and markings for a metal shield over the wireless radio, it is not included on most units.
Serial Port
Serial port on this model was easy to figure out. I simply used a multimeter to check for ground, and +3.3vdc, then tried the other two pins, reversing until I/O was achieved. You will require a TTL/Serial adapter (CP21xx or PL2303) in order to convert the UART TTL voltages to PC voltages, otherwise you risk damaging your router and/or serial port.
In the picture below I soldered a 4-pin connector onto my device (at a slight angle to facilitate re-closure of the case). There are no pull-up resistors or shorts to make on this device. Simply hook onto the Ground, RX and TX, and you're laughing.
Note: DO NOT CONNECT the 3.3vdc to your USB/TTL device. As you can see in the picture, I left that pin off at the header.
Opening/closing the case
1. Remove the (4) adhesive rubber feet
2. Unscrew the (4) phillips screws
3. Use a spudger or common tip screwdriver to gently pry a corner of the top until you hear a click.
4. Follow around the seam with your spudger until you unhinge all the latches and the top will come off easily.
Simply reverse the process to reinstall the cover.
Recovery
You will need:
1. Serial cable with a 3.3v converter. Those nokia cables work well.
2. A terminal emulation. I used putty on windows, minicom on linux.
3. A TFTP server. I used tftp-hpa under linux.
4. A PC with a static IP address of 192.168.1.27 netmask 255.255.255.0. Please take note that I do not know if that address work on all routers. Mine is what it was looking for.
5. A network cable between the computer and the router (any) lan port.
How to recover:
1. Connect the serial cable.
2. Open a terminal with 115200 8n1.
3. Power on the router.
4. Wait for “Autobooting in 1 seconds”, then quickly type “tpl” (without the quotes) within the 1 second timeout. Power cycle if you miss it. You should be welcomed with “ar7240>”. You are now talking to the bootloader. If nothing happend within a few seconds, check your connections.
5. Erase the flash: erase 0x9f020000 +7c0000
6. Transfert the firmware to ram, use the squashfs factory one: tftpboot 0x81000000 code.bin. If it timeout, verify which address the router want to fetch the file from. Mine wanted from 192.168.1.27 and I do not know if this is universal or “random”.
7. Copy from ram to flash: cp.b 0x81000000 0x9f020000 0x7c0000
8. Boot the new firmware: bootm 0x9f020000
A note on the address:
1. 0x81000000 is the default memory address that tftpboot wanted to use.
2. 0x9f020000 is the flash base address. Obtained from the serial console log when it tried to boot from the line: “## Booting image at 9f020000 ...”
3. 0x7c0000 is the firmware size.
Back to Original Firmware
1. Download the original firmware from the tp-link website
2. Cut the file: dd if=orig.bin of=tplink.bin skip=257 bs=512
3. Write to flash: mtd -r write /tmp/tplink.bin firmware
GPIOs
| Name | Purpose | Pin |
|---|---|---|
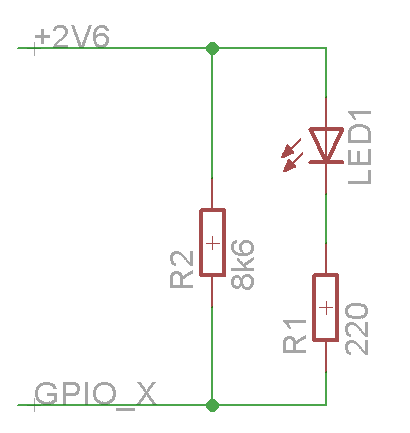
| gpio0 | LED10 | 107 |
| gpio1 | LED11 | 84 |
| gpio3 | SPI_SI | 76 |
| gpio4 | SPI_SCK | 77 |
| gpio9 | R172 not assembled | 86 |
| gpio12 | SW1 | 89 |


